Glass railing systems change the way a space looks by letting light flow through and keeping views open. They make any area feel bigger and more modern. Safety is the most important part of this setup because a weak installation is dangerous. These systems are found on balconies, staircases, and terraces. They work well for both indoor and outdoor areas in houses or big shops.
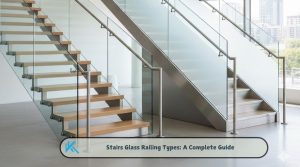
Types of Glass Railing Systems
Frameless glass railings offer a clean and clear look with no visible posts. Semi-frameless options use small vertical posts to hold the panels. Framed railings have metal running all the way around the glass edges. Point-fixed systems, also called stand-offs, use round metal fittings to hold the glass from the side of a wall or stairs. Base-mounted or spigot-mounted systems use heavy metal clamps at the bottom to grip the glass. You pick a style based on how much of a view you want to keep.
Materials and Components Used
We use toughened safety glass or laminated glass for these projects. These types are very strong and do not shatter easily. Stainless steel is used for the metal parts, usually SS 304 for inside or SS 316 for outside to stop rust. The system needs spigots, stand-offs, or base channels to stay in place. Handrails are sometimes added on top for extra grip. You also need anchors, fasteners, and rubber gaskets to keep everything tight.
Tools and Equipment Required
You need a measuring tape and a spirit level to keep everything straight. A heavy drill is required for the anchor bolts that hold the hardware to the floor. Glass suction lifters are used to move the heavy panels safely. We use silicone sealant and rubber gaskets to finish the joints. Safety gear like gloves, helmets, and sturdy boots must be worn at all times.
Pre-Installation Planning and Site Inspection
Accuracy is everything when you measure the site. The surface must be checked to see if it is solid concrete, steel, or tile. You have to follow the local rules for height and how much weight the railing can hold. Wind load is a big factor for high balconies. We mark the layout on the ground to plan where every bolt will go.
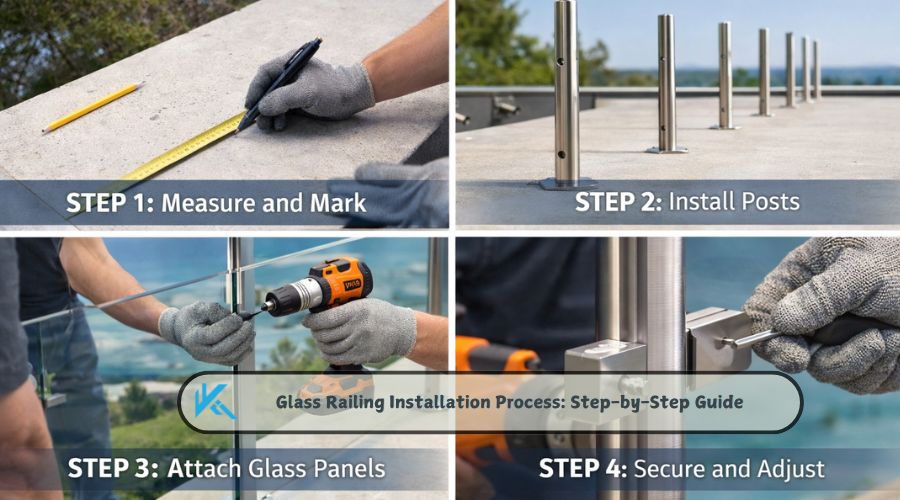
Step-by-Step Glass Railing Installation Process
Step 1: Surface Preparation – The installation area must be cleaned and cleared of any dirt. We make sure the floor is perfectly level before starting any work.
Step 2: Marking and Drilling – We mark the exact spots for the spigots or the base channels on the floor. Holes are drilled deep enough to fix the anchors firmly into the surface.
Step 3: Fixing Railing Hardware – The spigots, stand-offs, or channels are bolted down tightly. We check the alignment to make sure the hardware sits in a perfectly straight line.
Step 4: Glass Panel Installation – Glass panels are lifted carefully and placed into the hardware. We use rubber gaskets and spacers so the glass never touches the metal directly.
Step 5: Alignment and Level Adjustment – Every panel is checked with a spirit level to ensure it is vertical. We adjust the height and make sure the gaps between the glass sheets are the same.
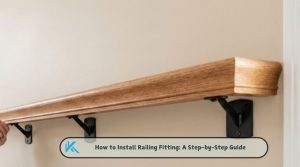
Step 6: Handrail Installation (Optional) – If the design includes a handrail, it is fixed to the top of the glass or to the wall. This makes the whole system feel more solid and gives a smooth finish.
Step 7: Sealing and Finishing – Silicone sealant is applied to the gaps to keep water out. All the bolts get a final tightening and the glass is wiped clean.
Safety Standards and Building Code Compliance
Using certified safety glass is a requirement for every project. There are specific height standards that must be met to prevent falls. Local building codes give clear rules on how much force a railing should withstand. Professional installation is the only way to be sure these safety rules are followed correctly.
Common Installation Mistakes to Avoid
A small gap in measurements can ruin the whole look. Using weak anchors will make the railing vibrate and feel unsafe. Many people use the wrong grade of steel outdoors, which leads to rust very quickly. Handling the glass roughly often causes chips or cracks. Ignoring the wind load rules on high floors is a major risk.
Maintenance Tips After Installation
Clean the glass panels with a soft cloth to keep them clear. The stainless steel fittings should be wiped down to prevent marks. Check the hardware every few months to see if any bolts need tightening. Also, inspect the silicone seals to make sure they are not cracking.
Applications of Glass Railings
These railings are perfect for residential balconies and internal staircases. They are used in hotels, malls, and large office buildings. We often install them around swimming pools and on roof terraces. Public spaces use them because they are durable and look expensive.
Why Choose Our Professional Glass Railing Installation
We provide a much better finish and perfect alignment for every panel. Our team ensures the railing has a long service life without any vibration. We follow all safety standards so you do not have to worry about building codes. The result is a system that is safe and looks great.
Conclusion
A proper installation process is the only way to get the best out of a glass railing. Using high-quality materials like our spigots and stand-offs makes a huge difference. Safety and style must work together to create a good space. Expert fitting ensures the glass stays secure for years to come.