
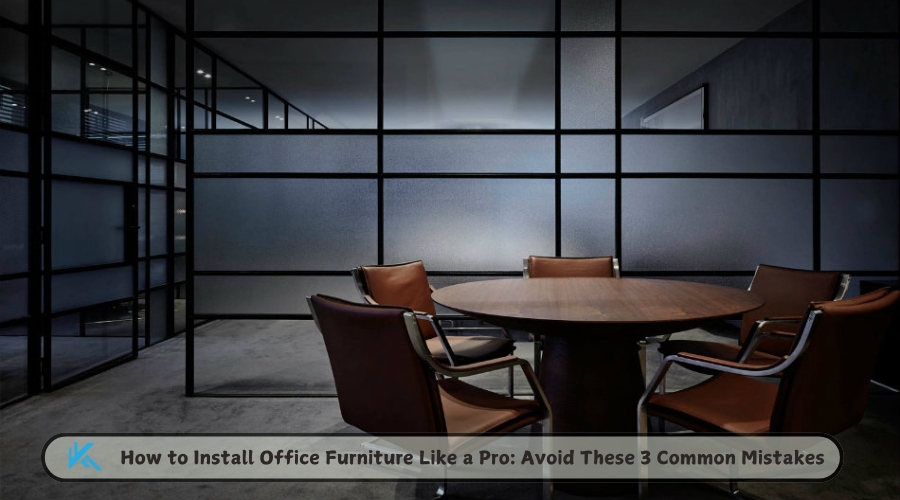
Modern offices don’t look like they used to. Today, office furniture includes glass walls, open spaces, and minimalistic furniture in almost every setup. These sleek designs don’t just happen. They need careful planning and smart installation.
Installing furniture the right way is more than putting things in place. It affects how the office looks, how it works, and how long it lasts. It also ensures safety and reduced maintenance.
Using strong, good-looking hardware is key. Stainless steel fittings, precise brackets, and right size clamps give a clean and professional finish. Small details matter a lot.
Mistake #1: Poor Space Planning and Hardware Coordination
What goes wrong:
Many setups start without a proper plan. Furniture is bought, walls are built, and fittings are added—but nothing lines up.
What this causes:
- Wrong furniture size
- Wobbly partitions
- Too much drilling and wall damage
How to fix it:
Start with a clear layout. Plan every workstation, wall, and partition before anything is installed. Use CAD drawings or 3D layouts to determine how everything fits together. Mark out the wall supports, desk areas, and glass lines.
Use modular hardware, such as:
- Adjustable glass brackets
- Stainless steel standoffs
- Flexible SS chains for open partitions
Check the mounting points and ensure the load is distributed evenly.
Mistake #2: Choosing Incompatible or Low-Quality Hardware
What goes wrong:
Some installers use low cost materials like mild steel or aluminum. These are cheaper in the beginning, but they will not last long.
What this causes:
- Rust and Stains
- Scratches on glass and wood
- Fittings that bend or break
How to fix it:
Use stainless steel 304 or 316 fittings. They are rust-proof and tough. Always match fittings with glass thickness—whether it’s 8mm, 10mm, or 12mm.
For a premium look, go for PVD-coated parts. They stay shiny and smooth.
Trusted hardware includes:
- Handrail brackets
- Glass connectors
- Point-fixing brackets
- Stainless steel clamps and frames
Mistake #3: Incorrect Installation Techniques
What goes wrong:
Even with the best materials, poor installation ruins everything. Misaligned pieces and the wrong tools cause problems.
What this causes:
- Glass cracks
- Loose joints
- Noisy or unsafe edges
How to fix it:
Use laser levels and jigs to achieve perfect lines. Choose pre-machined fittings to save time and minimize errors.
Don’t overtighten the screws. Too much pressure can break glass. Use rubber buffers or silicone gaskets to protect the glass.
Other tips:
- Stainless screws and flush-fit washers.
- Alignment tools keep edges even.
- Clean cuts and smooth finishes at the joints.
Bonus Tips: Small Changes, Big Results
Add a glass center table with stainless steel legs to your waiting area. It adds a modern twist.
Use stainless chains to separate desks without blocking the view.
Clean the fittings with non-corrosive sprays. It keeps them shiny and clean.
After installation, always test the glass panels. Make sure they are stable and properly aligned.
Install Smart, Build to Last
Bad layout, poor fittings, and lazy work lead to a weak setup. But if you get the basics right, you get:
- A sharp, modern look
- Safe, steady furniture
- Long-term use without damage
Always plan first. Use quality hardware. Install with care. That’s how you make your office setup work like it should.